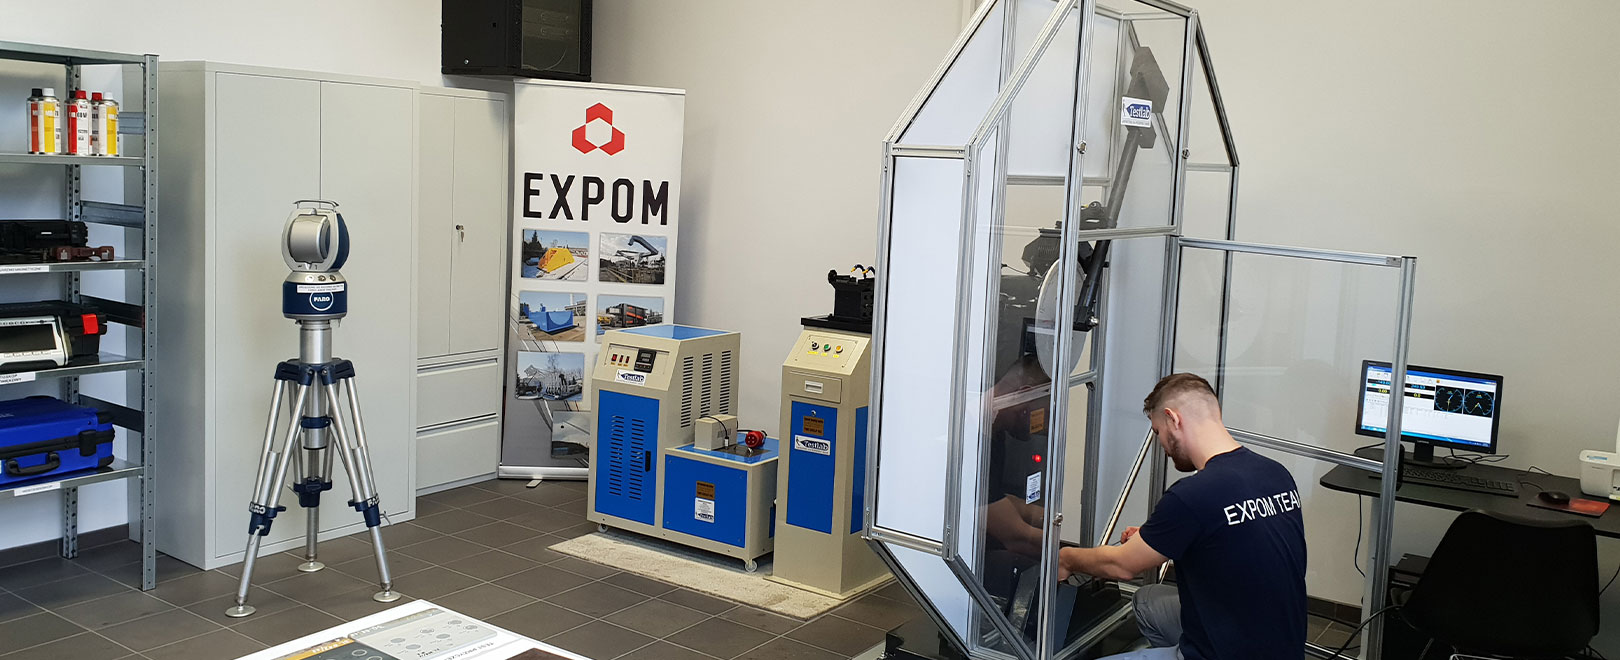


In order to meet the growing market requirements, in 2018 the Expom Laboratory was established, providing a number of specialized industrial tests

Destructive Testing (DT)
- maximum energy 500J,
- tests in accordance with PN-EN ISO 148-1 and ASTM E23 (KV8)
- tests at reduced temperature (down to -60 ° C)
- ORION D100 mobile hardness tester,
- tests performed on the Leeb scale,
- conversion of results to the HB, HV, HRB, HRC scale)
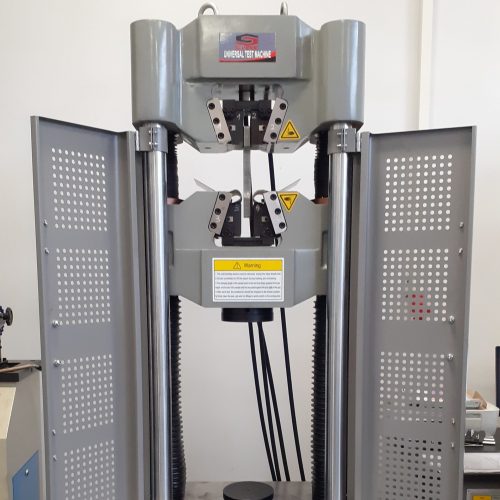
- do wykonywania badań rozciągania, ściskania i zginania,
- maksymalne obciążenie: 600kN,
- dokładność pomiaru siły: +/-0,5%
- badania zgodne z EN-ISO 7500-1:2008 i ASTM E4

Non-destructive testing (NDT
We carry out non-destructive testing using the following methods:
- Visual (VT)
- Magnetic and Particulate (MT)
- Penetration (PT)
- Ultrasonic (UT)
- Videoendoscope research
- Ultrasonic thickness measurement
- Tightness and pressure tests

Inspectors of Expom S.A. have 2nd degree qualifications in accordance with PN-EN ISO 9712.

Electrical and health and safety testing
- max. load 600 A,
- precise adjustable load in the entire range,
- the possibility of testing equipment for welding with the use of MIG, MAG, TIG, MMA methods
- SONEL LXP-2 lux meter
measuring range 19.99 klx
1.Insulation resistance measurements:
•Measurement of the insulation resistance of the electrical installation,
• Measurement of continuity of protective conductors
• Measurement of short circuit loop impedance as an element of checking the effectiveness of protection against electric shock
• Visual inspection of the electrical installation based on applicable standards
• Control of switching points
2. Testing the lightning protection device, including:
• Measurement of earth resistance
• Examination of the ground part of the device
3. Testing of electrical devices, including:
• Visual inspection of the device in terms of safety
• Measurement of continuity of protective conductors
• Measurement of insulation resistance
• Testing the effectiveness of the protection against electric shock
4. Measurement of earth resistance using the 3-lead method
5. Measurement of soil resistivity
- FLIR E53 thermal imaging camera
- measuring range: -20 ÷ 650 ° C
- accuracy: ± 2°C


